Permanent Concrete Block Cold Plunge: Built to Last
Plan a permanent concrete block cold plunge for a backyard or home gym with the build sequence, cooling setup, insulation, and maintenance steps that matter.
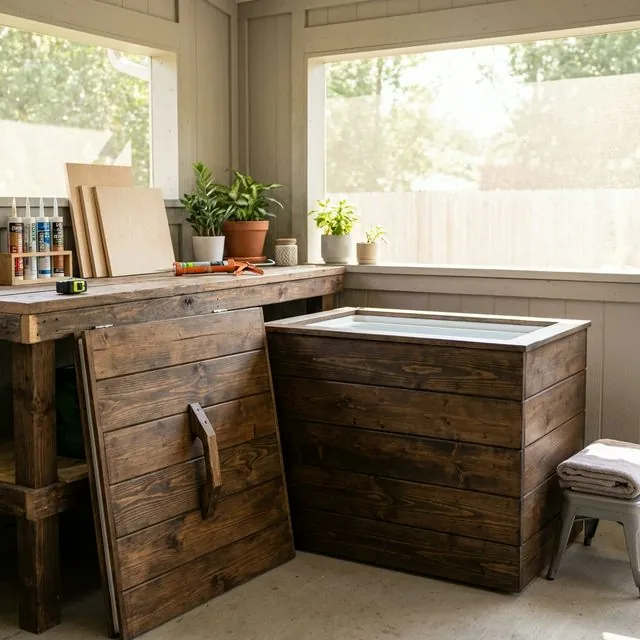
For those who want a permanent feature in their backyard or home gym, concrete blocks offer industrial durability and infinite customization. This is the only DIY method that produces something closer to a small pool than a tub — sized exactly to your body, tiled or coated to match your space, and immovable in the best sense of the word. Not sure if this is the right build for you? Compare all 6 methods in our DIY cold plunge overview.
Be honest about the commitment before the first bag of concrete: this is a 1-2 week project involving a poured foundation, masonry, and waterproofing that has to be right the first time. A wooden frame build gets you a premium permanent look with simpler construction; the block build is for people who want the thing that outlives the house's next two owners.
Planning: Size, Depth, and Placement
Design around a soak position, not a swim. An interior of roughly 3' x 5' with 3' of water depth immerses a seated adult to the neck and holds around 300 gallons. Every additional foot of length adds roughly 65-70 gallons that your chiller has to manage, so resist the urge to build a small pool unless you genuinely plan to share it.
Placement decisions that are hard to change later:
- Drainage: A permanent vessel needs a real drain plan — a bottom drain plumbed to a suitable discharge point beats pumping out 300 gallons by hose every time.
- Utilities: The chiller needs GFCI-protected power and ventilation. Rough in the conduit path before the slab is poured.
- Sun exposure: Shade cuts summer cooling load meaningfully. If the spot gets full afternoon sun, oversize the chiller.
- Frost line: In freezing climates, foundations and buried plumbing must respect local frost depth, exactly like a small pool. This is the item most worth a conversation with a local contractor.
Materials List
- Base: Reinforced concrete pad.
- Walls: Standard 8x8x16 concrete blocks.
- Reinforcement: Rebar for the pad and vertical runs through block cells, plus concrete to fill the cells.
- Interior: EPDM pond liner or professional fiberglass coating (see our insulation guide for thermal options).
- Insulation: 2" rigid foam on the exterior walls and under the pad perimeter — concrete is a massive heat sink, and an uninsulated block vessel will work your chiller hard year-round.
- Coping: Smooth stone or wood for the top edge.
- Plumbing: Bulkhead or through-wall fittings for the chiller loop, and a bottom drain fitting.
Build Sequence
- Foundation: Pour a 4" thick level concrete pad with rebar. Let it cure properly before laying block — the pad carries well over a ton of block, water, and person, and a cracked foundation cannot be fixed later.
- Block laying: Stack blocks to your desired height, filling cells with concrete for strength. Run vertical rebar through the corner cells and every few feet of wall into the pad. Water pushes outward on the walls constantly; the fill and rebar are what push back.
- Plumbing integration: Core-drill holes for inlet/outlet pipes during the block lay, not after. Position the chiller loop's suction low and return high on opposite ends for full circulation, and slope the bottom drain line toward its discharge point.
- Waterproofing: This is the most critical step. Use a heavy-duty liner or multi-stage epoxy. Bare concrete block is porous — it will seep without a continuous waterproof layer, and slow seepage through masonry is nearly impossible to diagnose after the fact. Liner is cheaper and forgiving; a fiberglass or epoxy coating looks professional and is easier to clean, but demands careful surface prep and cure times.
- Insulate and finish: Glue rigid foam to the exterior walls, then hide it behind your finish material — stucco, stone veneer, or a cedar surround all work. Cap the walls with coping that overhangs slightly so drips fall away from the foam.
- Leak test: Fill and hold for 48 hours before connecting equipment. Mark the waterline with tape and check it morning and night; evaporation is even, leaks are not.
Cooling a Concrete Plunge
At around 300 gallons, size the chiller like a converted spa rather than a barrel: a 1 HP unit such as the AS ColdPlunge 1 HP is the sensible baseline, and our temperature control systems guide covers the sizing math. The mass of the concrete works in your favor once it reaches temperature — after the initial multi-day pull-down (the walls themselves have to chill, not just the water), a well-insulated block plunge is remarkably stable, and the chiller settles into short hold cycles. An insulated cover is non-negotiable at this volume; the exposed surface is where your electricity goes to die. Run the ownership numbers in the cost calculator with your local rates.
Maintenance
The vessel itself is nearly maintenance-free — inspect the coping and any coating annually, and reseal wood elements as needed. The water follows the standard playbook at larger scale: rinse before entering, keep the cover on, sanitize and test per the water care guide, and schedule full changes per how often to change cold plunge water. Because 300-gallon changes are a project, most block-plunge owners run inline filtration off the chiller loop to stretch the interval.
In freezing climates, winter is decided at design time: either keep the system circulating all season or drain the plumbing loop completely before the first hard freeze — water expanding in a core-drilled pipe can crack masonry. The winterizing guide covers both strategies.
Verdict
The most stable and professional-feeling DIY build possible, and the only one that appraises as a permanent home feature rather than backyard equipment. It costs the most in time and demands the most planning, but nothing else in the DIY catalog matches its durability or looks. You will need an external chiller for cooling and a proper water care routine to keep things clean — and if you are new to cold exposure entirely, start with the beginner's guide protocols before you build the temple.
Related Guides
- DIY Cold Plunge Overview: All Build Methods -- Compare all 6 DIY approaches
- Stock Tank Cold Plunge -- Easier outdoor alternative
- Wooden Frame Cold Plunge -- Premium look with simpler construction
- Cold Plunge Water Care -- Water sanitation and chemistry
- Getting Started with Cold Plunge -- Temperature protocols for beginners
- Winterizing Your Cold Plunge -- Protect permanent builds in cold weather
Sources
Concrete Build Essentials
Liquid Rubber Waterproof Sealant
Professional waterproof coating for concrete and masonry surfaces.
Heavy-Duty EPDM Pond Liner
Durable rubber liner provides backup waterproofing for concrete builds.
You Might Also Like
Wooden Frame Cold Plunge: Build Your Own Luxury Tub
Build a custom cedar-framed cold plunge with a waterproof liner, integrated chilling, and a premium look that suits permanent backyard setups.
Advanced Temperature Control for DIY Cold Plunges
Upgrade your DIY cold plunge with digital thermostats, smart controls, cooling schedules, and operating-cost controls that improve consistency.
Stock Tank Cold Plunge: 2-Hour Build Under $400 (2026)
Build a durable cold plunge with a galvanized stock tank, external chiller, and basic plumbing in one of the easiest DIY setups for beginners.
Best Cold Plunge Tubs for 2026
Our top-rated cold plunge tubs after hands-on testing.